
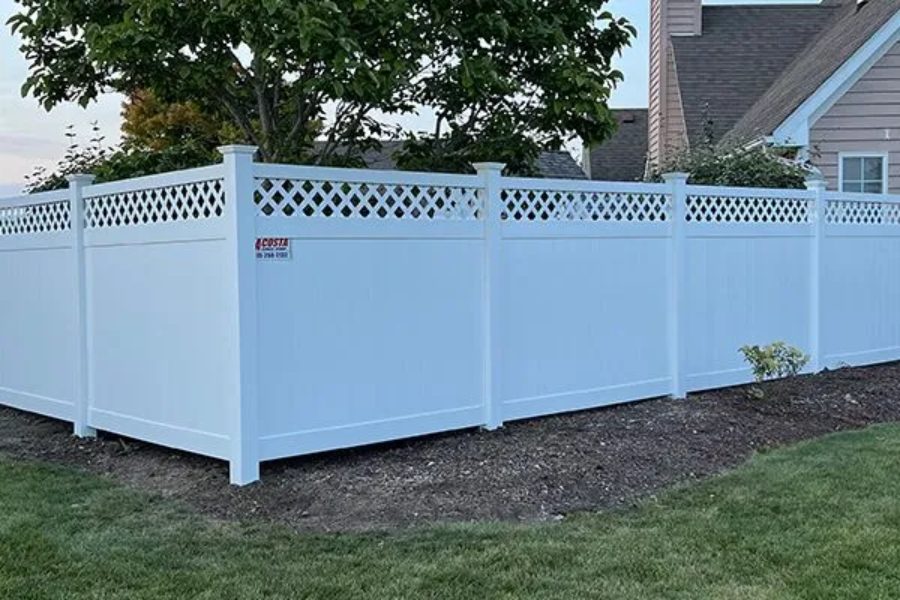
A fence may appear to be a simple weekend task until a misplaced fence post, uneven line, or even a hidden electric power or water line turns into a larger issue.
The best part is that it’s easier to install if you do it one step at a time. Begin with a plan, ground preparation, precise post placement, and then assemble fence panels. This method can save time and eliminate needless corrections later on. However, where do you start, and what should be done first?
The five steps outlined below are a logical sequence for the process. They also provide information that often is overlooked, particularly when installing a fence for the first time, to ensure that the end product is neat and functional.
1. Mark the Fence Line and Plan the Layout
The process of fence installation begins with determining the location of the fence. Check your property survey or plat and then mark the proposed line with stakes and string. In case of ambiguity about the boundary, it is better to hire a professional surveyor than rely on guesswork.
Second, verify local regulations on fence height, setbacks, permits, and location. Neighborhoods, counties, and cities may have different requirements. Early care would save on having to relocate an installed fence in the future.
2. Gather Materials and Prepare the Ground
After the layout is satisfactory, prepare yourself with everything beforehand. That can be in the form of posts, panels or pickets, rails, fasteners, setting material, and gate hardware depending on the type of fence. It can be assisted by a tape measure, a level, a string line, a shovel, a post-hole digger, a drill, and a saw.
Then clear the path for the fence. Take out brush, rocks, old fencing, and any other thing that might get in the way. When the yard is sloping, make a decision between the fence going with the slope or stepping it.
One more time, check your measurements before digging. It is much easier to fix a wrong layout than it would be after a couple of posts are in the ground.
Check briefly to ensure that the location of the gates is convenient and the fence is not a barrier to outdoor equipment, walkways, or driveways. These details should be planned prior to installation to ensure the completed layout is not only functional but also appealing.
3. Dig the Post Holes and Set the Posts
Now comes the time to set the posts of the fence: the pillars. Mark every hole to your intended spacing, taking care of corners, ends, and gate openings.
Call 811 to have the utility lines in the ground marked before excavation. The 2025 safe-digging guidance issued by the Iowa Utilities Commission expressly covers the installation of fences as one of the projects that must be addressed to the utilities that are buried.
The next step would be to excavate each hole to the appropriate depth depending on your fence design, post size, soil conditions, and local needs. Place every post, ensure that it is flat, and fix it with suitable setting material. Always maintain uniform spacing with special care on corners and gate posts.
4. Install the Rails, Panels, and Gate
The posts are now in place, and you may begin to construct the fence. In the case of a normal wood fence, mount the rails that run horizontally. Hold them flat, and place them at all times between the posts. Then set the pickets or boards, and take care of the spacing.
The gate should be given special consideration. Test the width of the opening, fit the hinges firmly, ensure that the latch fits in position, and then tighten everything. Another thing is to examine the swing direction. The gate must swing freely and not collide with a path, vehicle, wall, or any other building.
The spacing between boards should be maintained when laying, and the top line should be checked frequently. Minor discrepancies may stand out over a lengthy stretch; thus, it is worth a minute to rectify them in the process.
5. Inspect the Fence and Plan for Maintenance
When the last board goes up, the job is not quite done. Inspect the whole fence and find loose fasteners, leaning posts, loose boards, openings, or places that require fixing. Open and close the gate a few times to ensure a smooth flow.
The other clever thing is to record significant installation costs. Under some conditions, IRS 2025 Publication 530 indicates that surveying a lot of a fence may be covered under the cost basis of the fence.
Last but not least, consider maintenance. Wood might require cleaning, sealing, or staining occasionally. Other materials like vinyl and metal have different care requirements.
Conclusion
When you divide the project into manageable steps, it becomes a lot easier to install a fence. Begin by checking the boundary and local requirements, marking the layout, and preparing the ground. Then, place the posts, but take care, fit the pieces of the fence, and check the fence.
Above all, do not hurry in the initial stages. Proper measurements and the correct positioning of posts have a visible difference in the end outcome. Some patience and attention to detail can enable a homeowner to build a fence that appears neat, works well, and stands well over the years.
