
Do you notice your home is too warm in the summer and too cold in the winter? Poor insulation could be one of the main reasons. When the insulation is no longer effective, the heat can seep out during the winter and into the house during the summer. This can cause your heating and cooling system to operate harder and increase your energy bills over time.
However, not all insulation materials are equal, or appropriate for every area of your home. The right option varies based on the configuration of your home, the climate, and the insulation already in place.
It’s worth taking the time to compare your choices so you can get more comfortable, save wasted energy and gain more from your investment. Here are 5 things to consider before purchasing that help you make a smart, confident choice for your home.
1. Check Home R-Value Needs
R-value is a measure of insulation’s resistance to heat flow. A higher R-value means better protection against outside temperatures. Different R-values are appropriate for different regions in the country, depending on the age of the home and the amount of insulation already in place.
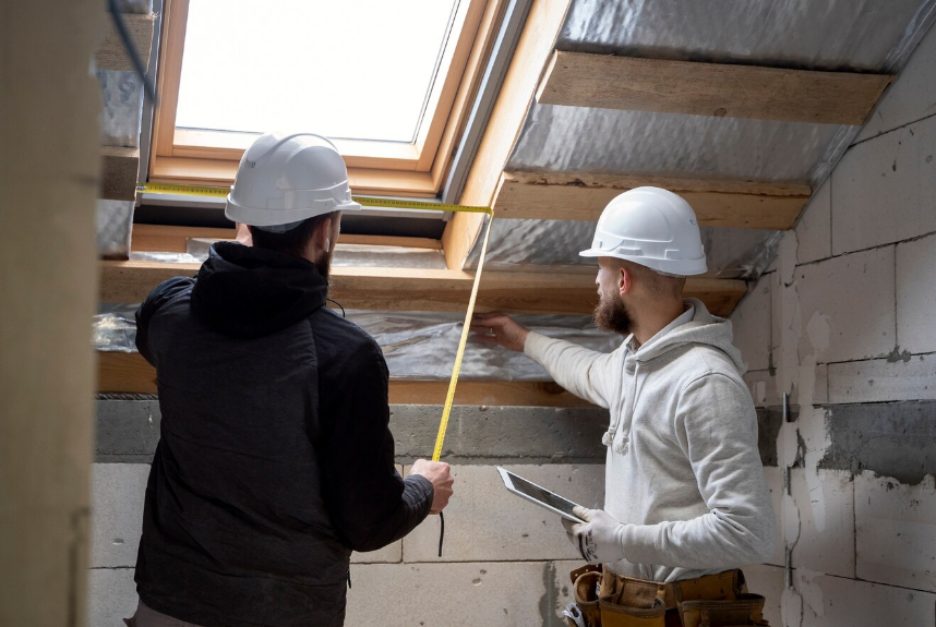
A proper inspection is the best way to determine your home’s R-value needs. If you’re not sure where your home stands, searching online for “insulation company near me” can connect you with local pros who perform this type of inspection and recommend the right R-value for your home. During the inspection, a technician reviews your attic, walls, and crawl space and documents the inspection with photos.
The inspection is also useful to find out where heat is lost or outside air is entering the home. You can then make sure you compare different types of insulation and use the right one for your home, rather than assuming they all work. A customized recommendation helps you spend your budget where it matters most. It also prevents you from purchasing too little insulation or paying for more than is required for your home.
2. Compare Common Insulation Materials
Not all insulating materials are created equal. Fiberglass is a cost-effective choice that works well in standard wall cavities and attic spaces and is a popular choice among many homeowners. Spray foam makes a tight seal that inhibits air leakage and is significantly better than most other materials, but is more expensive initially.
Cellulose, made from recycled paper, offers good sound control along with solid heat protection. It is also a good option for retrofitting existing walls. Rigid foam boards are a great fit for basements and crawl spaces. Each material has its own advantages, so consider your budget, your climate, and the air-sealing requirements of your home.
There is no single insulation material that is best for all homes. Choosing the right one depends on the type of home you have, where you have insulation already, and which areas you need to enhance. By carefully comparing materials, you can ensure that you are choosing the right option in terms of performance, cost, and long-term comfort.
3. Match Insulation to Home Areas
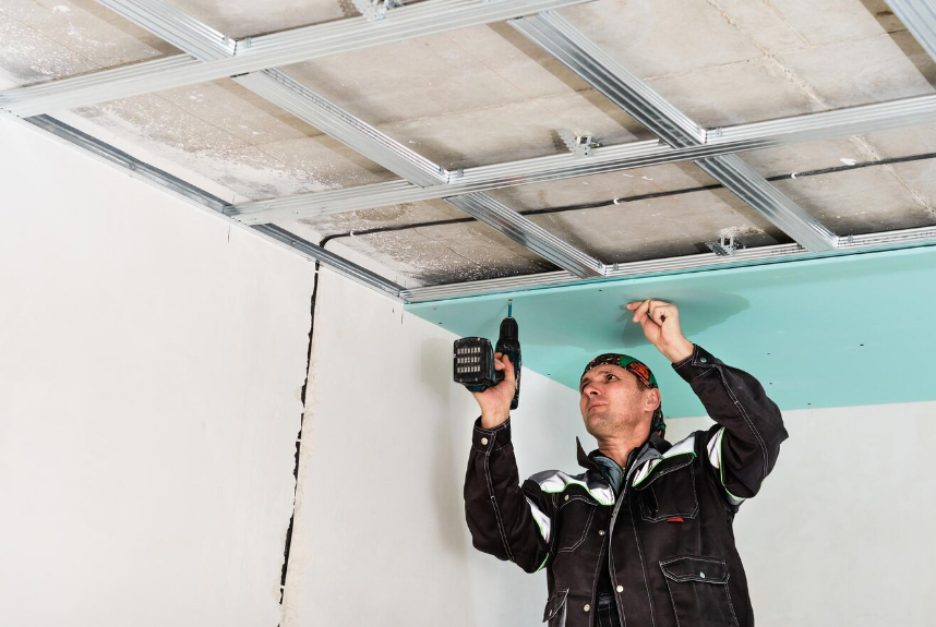
Your attic, walls, and crawl space each face different challenges, so they often need different insulation types. Attics often benefit from blown-in insulation because it fills open spaces effectively. Crawl spaces deal with moisture, so materials that hold up well against dampness are a smart pick.
Wall cavities are harder to reach once a home is built, so blown-in insulation often fits better than batts for older houses. Reducing air leaks matters just as much as the insulation itself because escaping air lowers your home’s energy efficiency. Thinking about each area on its own helps you avoid a one-size-fits-all mistake.
4. Compare Cost with Long-Term Savings
It’s tempting to pick the cheapest insulation option, but the lowest price today doesn’t always mean the best value over time. According to the U.S. Department of Energy, proper insulation upgrades can reduce heating and cooling costs by an average of 15%. Many homeowners recover their insulation investment within three to five years through lower heating and cooling costs.
When you compare options, ask each company to walk you through their installation process, removal procedures if old insulation needs to come out, and any service guarantees they offer. Clear, transparent pricing upfront helps you understand exactly what you’re paying for and why.
5. Check Existing Insulation Condition
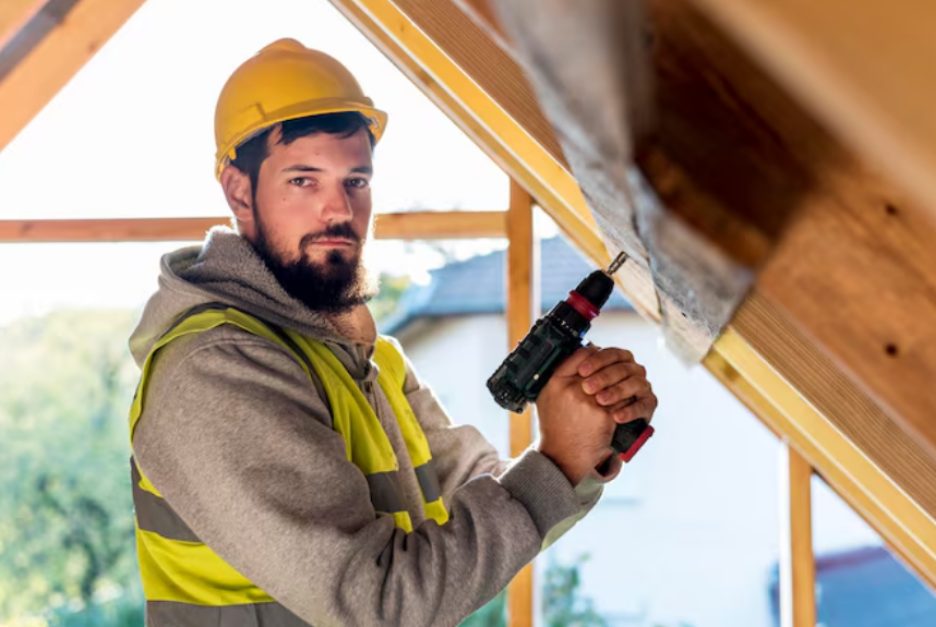
Before adding new insulation, it helps to know whether your old insulation is still doing its job. Older insulation can become less effective, especially after years of wear or damage caused by moisture or pests.
A professional inspection can reveal aging insulation or hidden pest damage that may reduce performance long before you notice changes in indoor comfort or energy bills.
Damaged or contaminated insulation often needs to be removed and properly sanitized before new material goes in. Skipping this step can trap moisture, pests, or odors underneath your new insulation, which undermines the whole upgrade. Checking the condition of what’s already there ensures your investment in new insulation actually pays off.
Bottom Line
Choosing the right insulation comes down to a few key factors: your home’s R-value needs, the materials available, and how each area of your home performs differently. Weighing cost against long-term energy savings adds another layer of confidence to your decision, and checking the condition of your existing insulation makes sure you’re building on a clean, solid foundation rather than covering up old problems.
Once these pieces come together, professional installation helps every part work together to create a comfortable, energy-efficient home for years to come. Taking time to compare your options today can help you enjoy lower energy costs and a more comfortable home through every season.
